1.

Install


PHPNginx server installation is easy, simply perform the following steps:

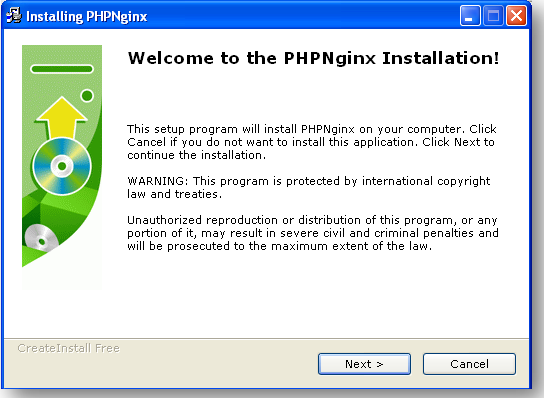
  1. Download PHPNginx server from SourceForge
  2. To start the installation run the installer PHPNginx.exe
  3. Press Next > button


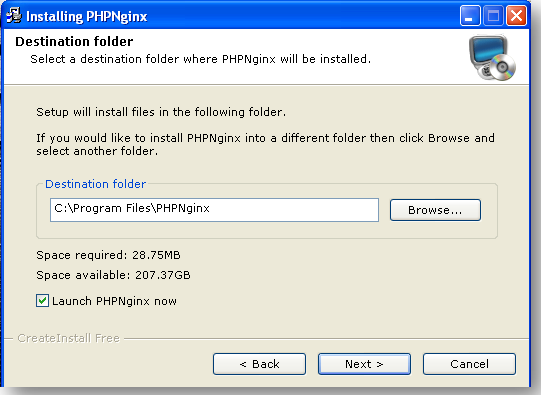
  4. Once the licence agreement accepted and read the change log (both presented during the instalation proccess) ,choose the directory where to install the aplication and press Next >


  5. Done!!!, we have installed PHPNginx server, to run it ,just click on the access to the application directory created on the desktop


2.

Menu


PHPNginx server stays on the Windows system tray. Right click over the application icon to show the menu to access the options:


Start server

There are some situations in which PHPNginx server would not , those situations are:

  • The port that Nginx needs is in use. By default, Nginx needs port 80. If there is any other application using this port, Nginx server would not start. To fix this issue,you will need to modify the port used by the Nginx Server (check configuration) or close the application that is running on that port.

  • PHPNginx server is already running Only one instance of the application can be run .

PHPNginx server notifies the user of any of the above situations so actions can be taken to correct them.


Verify server status

To verify the server status at any given time ( if it is running or not), simply press the following key combination: Shift + Alt + S A message will be displayed notifying the server status:


Stop server

To stop the server select the option Stop Server